
The Editing Toolbar
The Editing Toolbar appears in certain areas in Employee Self-Service Kiosk OHS, such as Action Items or Incident Witness statement and provides additional functionality to other entry screens:
| Button | Explanation |
|---|---|

|
Cut, Copy, Paste. Use these buttons to edit the text, as required. This Paste button will allow any text from anywhere to be pasted . |

|
Paste from Word. If text is copied from a Word document, use this button to paste this text. First paste it into a window from where it is converted to a format accepted by Ready Pay and Employee Self-Service Kiosk. |

|
Undo or Redo the last actions by clicking the appropriate button. CTRL Z and Y keyboard shortcuts also work. |

|
Remove Format.To remove formatting, highlight the appropriate text and click this button. |

|
Superscript, Subscript. Highlight the required text and use the relevant button to apply superscript or subscript formatting. |

|
Numbered List, Bulleted List. Click the appropriate button to add numbering or bullets to text |

|
Insert Image. It is not usually necessary to use this function as images may just be copy/pasted into the Action Item. Images to a maximum file size of 500KB may be added. When browsing for an image on your computer (via the Insert Image window) this specifies the formats allowed , in 'All Files' to the right of File name. If there is an image on a website add the URL of the image. To get this address, right mouse click on the image on the website and select Properties - the URL will be displayed in the Properties window. Copy this address and paste it into the Insert Image dialog box. |

|
Indent, Outdent. Indenting text will move the start of the line (or paragraph) to a predetermined distance in from the left hand margin. Each time Indent is clicked , the text will be moved again, that same distance to the right. Alternatively each time Outdent is clicked , this will move the text the same distance but back to the left. Once the left hand margin is reached, Outdent will no longer move the text. |

|
Insert Link.To add a link to a website address (URL) or an email address, click this button to open the Insert Link dialogue box. Add in the relevant details and click OK. it also contains an option to open the URL in a new browser window. |

|
Remove Link. Click this button to remove the website or email link from the text, whilst leaving the text in place. Note that this cannot be undone - re-add the link if required. |

|
Print. This displays a Print Preview window, from where a printer may be selected, basic printing options set and the Action Item printed.. |

|
Insert Table. Click this button to display the Insert Table dialogue box. You should create the table according to your requirements, e.g. number of rows and columns, and the borders and space around the text. Once a table is added, click the drop-down arrow on this button to display the Table menu. |
|
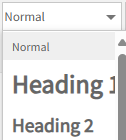
Styles. Click the drop-down arrow to select the Style. |
|
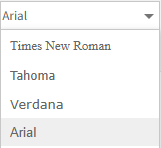
Font. Click the drop-down arrow to select the Font. |
|
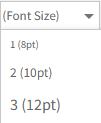
Font Size. Click the drop-down arrow to select the Font Size. |

|
Font Effects. Click the button to format text as Bold, Italic, Underline and/or Striketrhough. |


|
Alignment. Click the button to format text to Left, Centre, Right or Full alignment. |
|
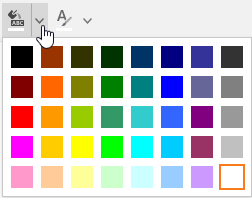
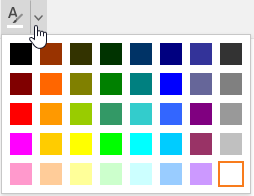
Background Colour. Click the drop-down arrow and click to select a background colour for text. Click the button to set the previously selected colour as the background for any selected text. |
|
Fore Colour Click the drop-down arrow and click to select a colour for the text itself. Click the button to set the previously selected colour as the colour for any selected text. |